How to defrost our bread like a pro 🧊
Tips for getting just the slices you need
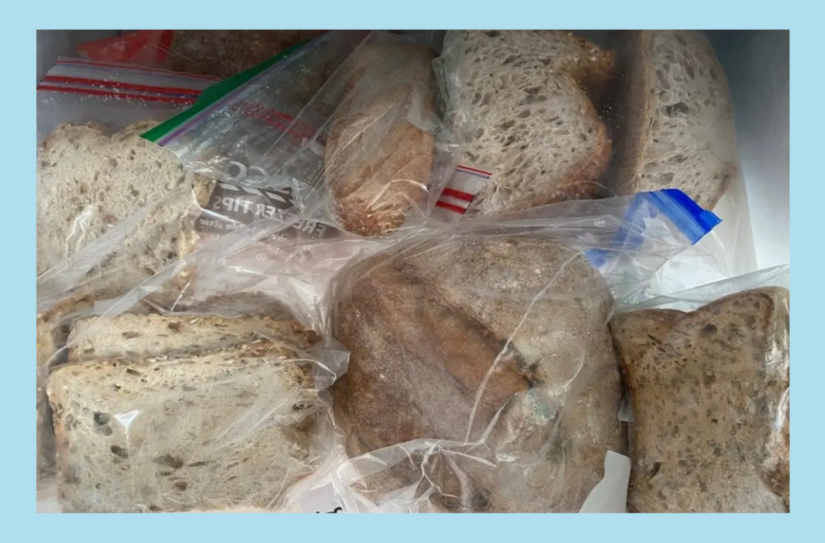
We freeze our bread in handy packs of four slices to keep things fresh and convenient — but we know that sometimes you only want one or two, not the whole lot. If you’ve ever found yourself defrosting all four because you couldn’t prise them apart, you’re not alone. Here are a few easy tips to help you separate slices straight from the freezer without the faff.
🔥 1. Warm Knife Trick
Run a butter knife under hot water (or hold it briefly in steam from the kettle), then gently slide it between the frozen slices. The warmth softens the edges just enough to separate them cleanly without tearing.
💨 2. Tap & Flex
If the slices are only lightly frozen together, try tapping the edge of the bread stack on a chopping board or gently flexing it in your hands. Often, a bit of movement is enough to loosen the bond between slices.
🧈 3. Pre-Slice Separation (Before Freezing)
If you’re freezing bread at home, pop a bit of greaseproof or baking paper between each slice before sealing the bag. Next time, you’ll be able to take out just what you need — no wrestling required.
⏳ 4. Room Temp Patience
Leave the frozen pack out for five to ten minutes at room temperature. The outer edges will soften just enough to gently prise slices apart without defrosting them fully.
🍞 5. Toast from Frozen
Most toasters can handle frozen slices, and many even have a “frozen” or “defrost” setting designed for this. If yours doesn’t, no worries: just toast on a lower setting and give it a second round if needed. The result is a perfectly crisped slice, no defrosting time required.
Bread should work around your routine, not the other way round. We hope these tips help you get the most out of every slice, whenever and however you want it. Got your own freezer hack? We’d love to hear it! Tag us on Instagram or drop us a message.